We select Yes and click enter, Knowledge Center about Ubuntu and Debian, MySql, We select Yes and click enter 11
We select Yes and click enter, MySql, MySql.
MySql.
MySql:

apt-get install apache2 apache2-utils -y
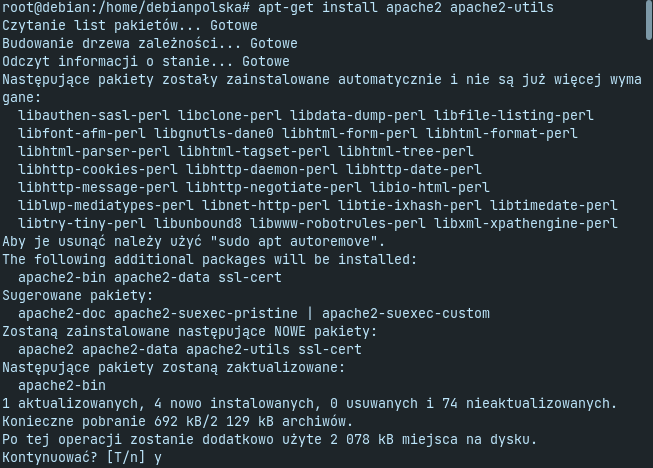
We check the Apache version with the command:
apache2 -v
Server version: Apache/2.4.53 (Debian)

Server built: 2022-03-14T16:28:35

MySql:
systemctl start apache2
systemctl enable apache2

MySql
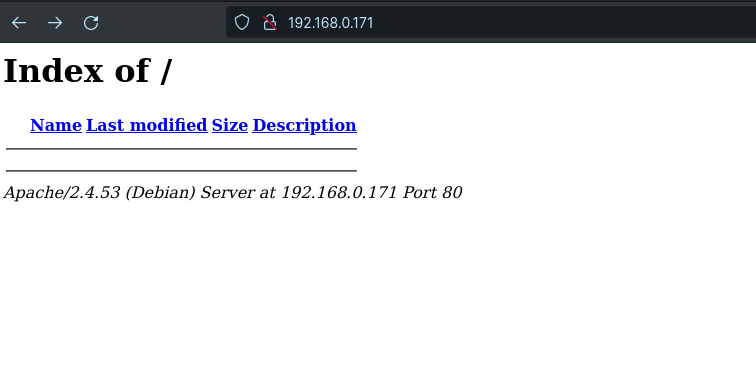
MySql
MySql:
apt-get install curl software-properties-common gnupg2

MySql
curl -LsS -O https://downloads.mariadb.com/MariaDB/mariadb_repo_setup
apt install mariadb-server mariadb-client
![]()
MySql:
systemctl start mariadb
systemctl enable mariadb
![]()
MySql:
systemctl status mariadb
MySql:

We issue a command in the console:
mysql_secure_installation
![]()
We issue a command in the console:
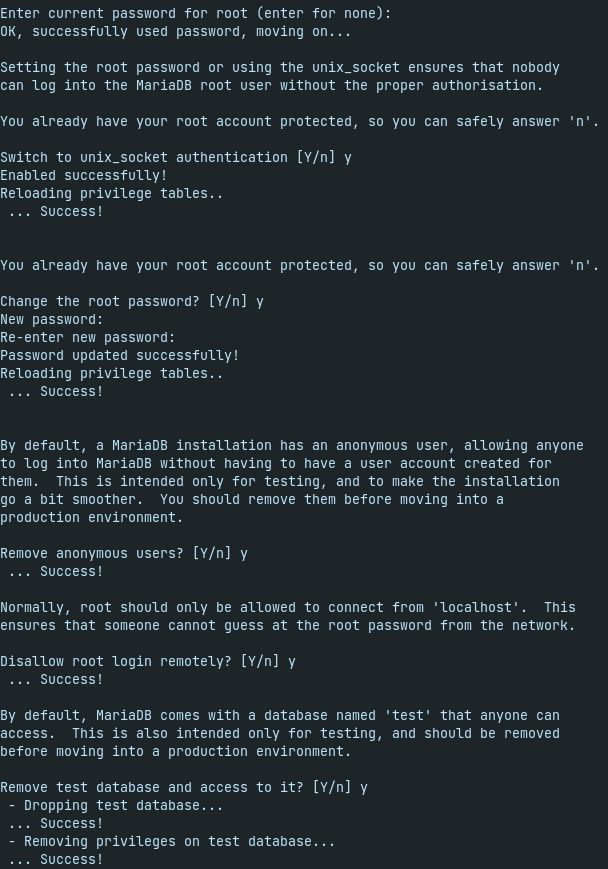
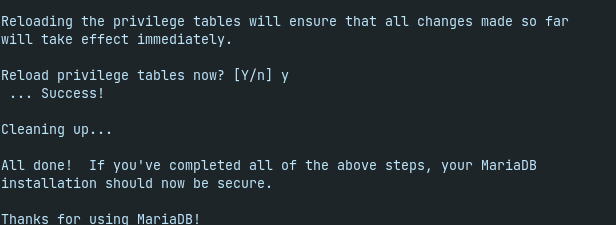
We issue a command in the console, We issue a command in the console.
We issue a command in the console
mysql -u root -p
We issue a command in the console.
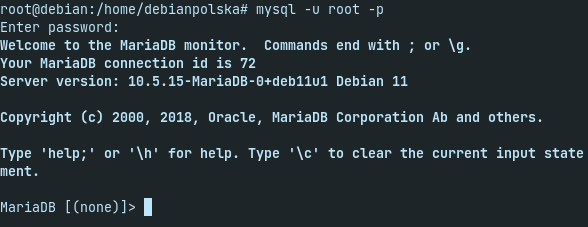
We issue a command in the console, MariaDB will say goodbye to us nicely 😉
![]()
We issue a command in the console:
apt install php libapache2-mod-php php-cli php-fpm php-json php-pdo php-mysql php-zip php-gd php-mbstring php-curl php-xml php-pear php-bcmath

We issue a command in the console:
php -v
We issue a command in the console:
PHP 7.4.28 (cli) (built: Feb 17 2022 16:17:19) ( NTS )

Copyright (c) The PHP Group

Zend Engine v3.4.0, Copyright (c) Zend Technologies

with Zend OPcache v7.4.28, Copyright (c), by Zend Technologies

The last steps are to create our domain vhost and install PhpMyAdmin.
The last steps are to create our domain vhost and install PhpMyAdmin! The last steps are to create our domain vhost and install PhpMyAdmin!
The last steps are to create our domain vhost and install PhpMyAdmin:
mkdir /var/www/html/domena.pl
And it's practically over:
chown -R www-data:www-data /var/www/html/domena.pl
![]()
The last steps are to create our domain vhost and install PhpMyAdmin:
nano /etc/apache2/sites-available/domena.pl.conf
![]()
The last steps are to create our domain vhost and install PhpMyAdmin:
ServerAdmin webmaster@localhost

ServerName domena.pl

DocumentRoot /var/www/html/domena.pl

ErrorLog ${APACHE_LOG_DIR}/error.log

CustomLog ${APACHE_LOG_DIR}/access.log combined

We give read / write permissions by issuing a command.
The last steps are to create our domain vhost and install PhpMyAdmin:
a2ensite domena.pl.conf

The last steps are to create our domain vhost and install PhpMyAdmin
a2dissite 000-default
![]()
The last steps are to create our domain vhost and install PhpMyAdmin:
apache2ctl configtest
The last steps are to create our domain vhost and install PhpMyAdmin:
systemctl reload apache2
![]()
The last steps are to create our domain vhost and install PhpMyAdmin
The last steps are to create our domain vhost and install PhpMyAdmin:
apt-get install phpmyadmin
The last steps are to create our domain vhost and install PhpMyAdmin.
1. The last steps are to create our domain vhost and install PhpMyAdmin.
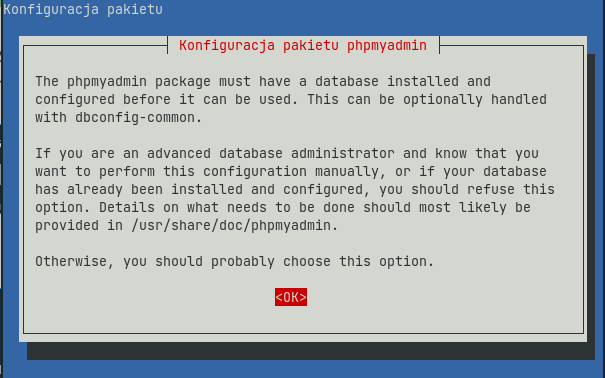
2. The last steps are to create our domain vhost and install PhpMyAdmin
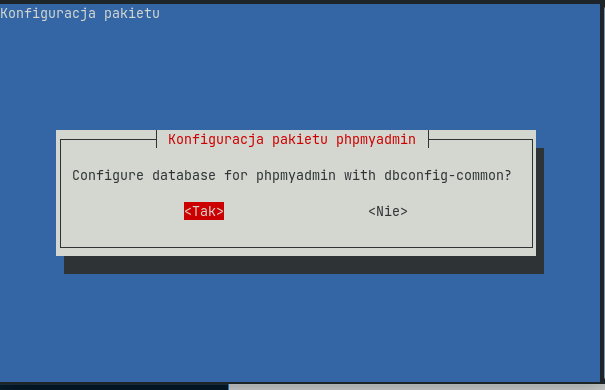
3. The last steps are to create our domain vhost and install PhpMyAdmin
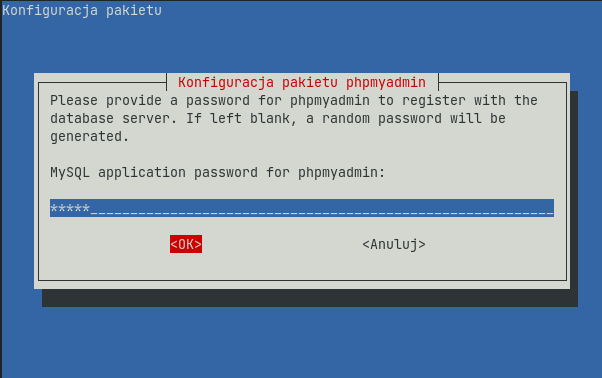
4. We select Yes and click enter (We select Yes and click enter) We select Yes and click enter
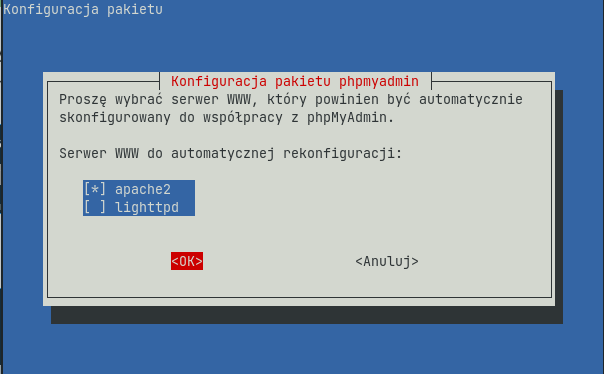
5. We select Yes and click enter.

We select Yes and click enter:
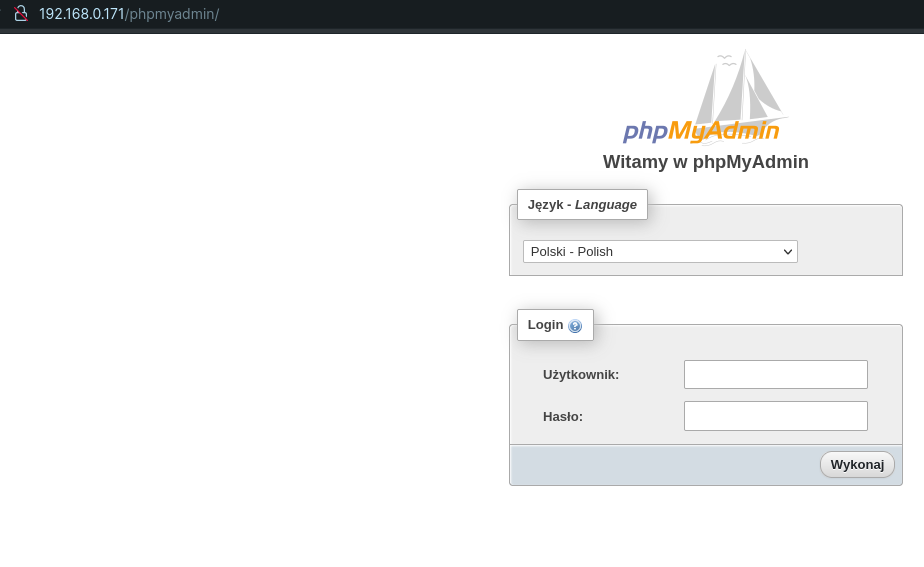
We select Yes and click enter.
We select Yes and click enter:


